
When you have afro textured hair, styling it can be a challenge. From trying different products to getting the right technique, the learning curve is intense. But it is so rewarding when you finally find the right formula: the best products, heat tools and technique. Everyone’s routine will vary, and what works for me might not work for you, but I will share my routine in hopes that it’s helpful for you!
Please note for legal reasons, I am not a licensed professional hairstylist and I cannot guarantee the same results on your hair. I have learned how to style my hair after watching lots of other talented ladies on YouTube and lots of trial and error. I encourage you to take my routine with a grain of salt, visit a professional licensed hair stylist who will teach you how to style your hair, and most importantly, learn for yourself what products your hair likes and what routine works best for you. I will also say that if you start flat ironing your hair regularly, you will most likely have heat damage to your curls. (I’m personally okay with this but if you don’t want to affect your curl pattern, please consider getting a protective style instead).
Without further ado, please read below:
Here are the products and styling tools I use.
The Products
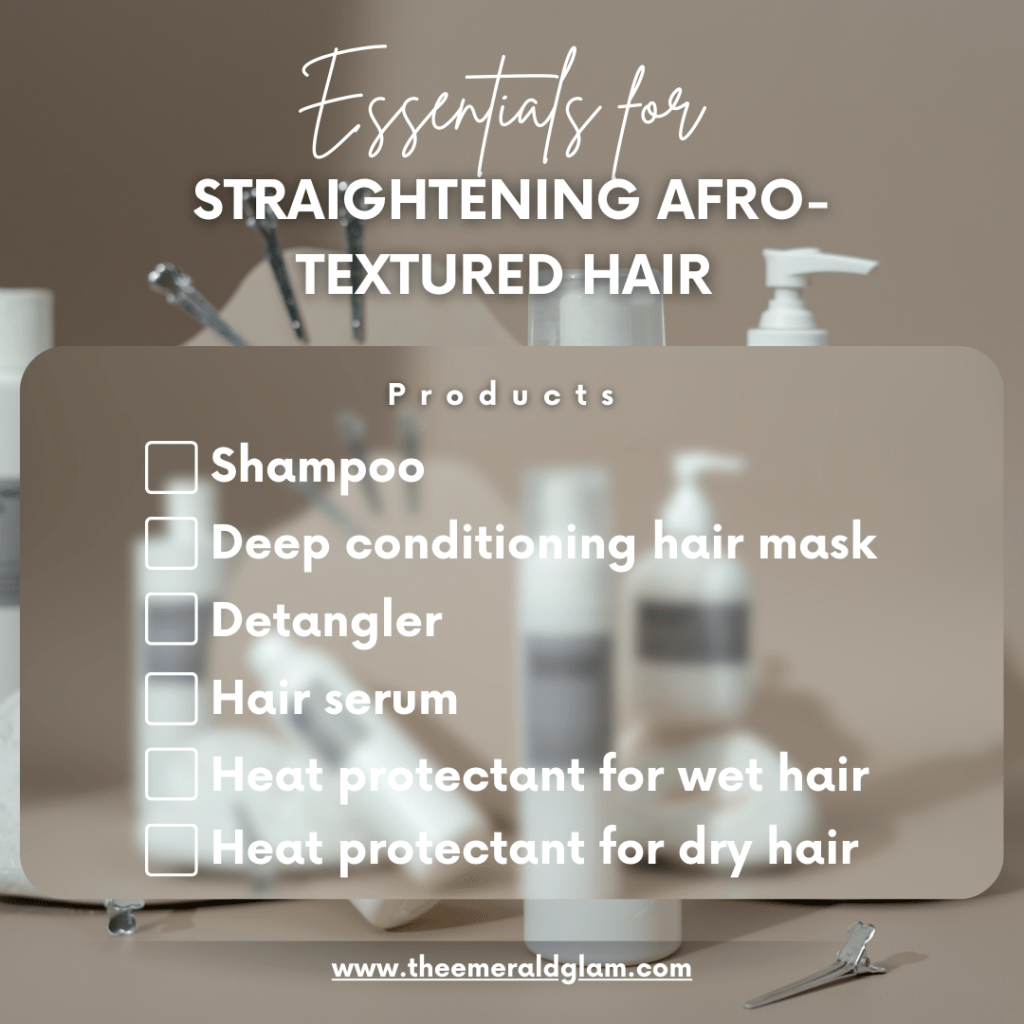
Shea Moisture Coconut and Hibiscus Curl & Shine Shampoo
Shea Moisture Raw Shea Butter Deep Moisturizing Masque
Paul Mitchell Super Skinny Serum
Tresemme Heat Tamer Spray (For wet or dry hair)
Chi Iron Guard 44 Thermal Protecting Spray Firm Hold (For dry hair only)
*Pro Tip – Look for the Chi hair products at TJ Maxx. They’re usually on sale there.
Styling Tools

Continuous Spraying Water Bottle
Detangling Comb (Don’t know where mine is from, but this is similar)
Blow dryer hooded cap attachment
Rat Tail Comb (Mine measures 1/16 inch between teeth) But a little wider is probably okay. Definitely nothing finer tooth than that. This one looks good.
Hot Shot Tools Blow Dryer with Comb Attachment (Mine is the older model S510300 but this model seems similar)
T3 Flat Iron (Mine is the older model 73504 but this seems to be a newer and similar model)
Here is my process for achieving an at-home blowout.
The Process – Estimated Time: 3 hours total
Part One
- Wash hair with shampoo. Rinse out.
- If you have time, deep condition hair with the conditioner, a plastic cap and sit under a hooded dryer. I have a hooded dryer attachment that I add to my blow dryer, and I’ll sit underneath it for 20 minutes. Then I’ll get back in the shower and rinse it out.
- But on days when I don’t have the energy, I’ll apply the hair masque in the shower and let it sit for at least 5 minutes before rinsing it out.
- Once I’m out the shower, I’ll spray detangler into my roots very generously all throughout my scalp.
- Next, add one pump of the Paul Mitchell serum and apply that all throughout your hair. Sort of section throughout your hair so your applying the serum in sections, lower region, middle region, top of hair and everywhere in between.
- Spray the Tresemee heat tamer spray throughout hair, coating most of hair.
- Next, take a rat tail comb and using the end, part hair down the middle. Put one half of hair in a satin ponytail holder. Put the other half in a different ponytail holder. So it looks like two afro puffs.
- Start working on left side of hair. Take hair out of ponytail holder on left side and using a rat tail comb, part hair at bottom near the nape of your neck so that you have a small section of hair. Tie rest of hair up with ponytail holder. Mist hair with water bottle so hair is soaking wet. Detangle with detangling brush. Take blowdryer with comb attachment and blow dry hair on Low speed, Low heat until dry.
- Repeat step 6 working in small sections of hair from back, to middle, to top of head.
- Secure hair out of the way so you can start working on the other side of your head. I like to do a loose braid starting near my ear and braid down. Secure it by tying a different, dry ponytail holder.
- Do the same process as Step 6 on this side of your head. Part hair at bottom. Mist with water until wet. Brush with detangling comb. Blow dry hair on Low speed, Low heat until dry. Take next section of hair down, tie rest of hair up. Repeat process.
- Just a note that I usually watch YouTube videos while I’m doing this. It usually takes about an hour to detangle and blow dry. Once you’re just starting out, it will probably take longer. But it gets easier with more practice.
- Also, the right side of my hair is usually drier so I have to add more water to the hair than I do to the left side.
- Once the right side of hair is dry, style it into a loose braid. I will usually leave my hair like this and go to sleep. I will wake up early in the morning to flat iron it. If you have the energy, feel free to start on part two but keep your blow dryer handy just in case you need to blow dry any sections of hair that aren’t fully dry before flat ironing.
Part Two

- Once I wake up in the morning, I will take down one ponytail and spray the Chi Iron Guard spray all throughout that section of the hair, making sure to coat the hair in the lower region, middle and top sections, and all the sections between.
- Once the spray dries, part a thin section of hair near the nape of your neck and tie the rest of your hair up. Comb through with comb – make sure the teeth aren’t too fine, as that can cause breakage. Then, do a pass of the flat iron through that section of hair, going from root to ip. Depending on the flat iron you’re using, you might only need to do one pass. If you need to do a second pass, feel free to do so.
- Please note that the flat iron I use is a ceramic flat iron and I believe it’s about 410 degrees Fahrenheit. Sounds scary but I’m used to it and that’s what the professional salons use as well.
- Part the next thin section of hair, comb through and flat iron from root to tip.
- Repeat step 14 until you reach the top of your head.
- Once you’re done with that section of hair, loosely tie a dry satin ponytail holder to keep the hair out of the way as you work on the next section.
- Next, take down the hair in the right side and repeat step 14 until you’ve flat ironed all of your hair.
Other Notes:
- While the technique and products are a big part of the process, I really do believe the flat iron I have is a big factor in the long-lasting and sleek look of the hair. I’ve used other more affordable flat irons (which are so great to achieving the look on a budget!) But I do believe the flat iron I use is worth the investment. And just for reference I bought it in 2013 and it still works with no problems.
- This blowout will last me about 7-10 days. After 7 days my scalp begins to be irritated and I will shampoo and start over. If you can make the style last longer, I recommend it. There are some ladies who can make their blowout last a month, and that’s why they don’t have minimal heat damage to their curls. My hair isn’t able to do that. But take note to when you start to notice wanting to scratch your scalp. This usually means it’s time to wash your hair.
- I do have heat damage, so whenever I wear my hair curly, I must opt for styles that hide that. The flexi-rods and perm rods help a lot!
- I do also have some breakage from excessive heat use but again, I am okay with this since I don’t want to chemically relax my hair. Protective styles would help with this but they are usually expensive. I’m just sharing with you my experiences in hopes that it helps you prepare for what to expect.
If you have any questions, please feel free to leave a comment!
